
Since the publish of my article about Facebook login integration, I have received tons of requests that wanted me to cover some other sign-in methods in iOS.
After doing a quick search on Google, I found that most of the blog posts that talk about Google Sign-in integration are quite old and might have been outdated.
Therefore, I think it is good for me to create a step-by-step tutorial on how to integrate Google Sign-in into an iOS app so that anyone who is working on the integration can refer to this article to get a clearer picture.
The Sample App
Throughout this article, I will show you how to configure your Xcode to use the Google Sign-in SDK as well as how to handle UI changes after a user completed the sign-in/sign-out action.
The following animated GIF showcases what we will achieve at the end of this article.

With all that being said, let’s buckle up and get right into it!
Google Sign-In SDK Installation
Just like every other integration, we first must install all the required dependencies. For our sample app, we will use CocoaPods to install the Google Sign-in SDK.
Fire up your Terminal app and navigate to the sample app project location. Use the following command to generate a Podfile.
pod initAfter that, open the Podfile created for your sample app and add the following:
pod 'GoogleSignIn'Here’s how your Podfile should look like:

Save the Podfile, head back to the Terminal app and run the following command:
pod installAfter the installation is completed, you should see a workspace file (.xcworkspace) has been created for your sample app. Double click the workspace file and launch your sample app in Xcode.
To ensure the SDK installation is successful, open AppDelegate.swift and import the SDK.
import GoogleSignInIf your sample app is able to build and run without any errors, then you are good to proceed to the next section.
Creating OAuth Client ID for Google Sign-In
After performing the SDK installation, you will need an OAuth client ID and an iOS URL scheme so that you can continue with the configuration in Xcode.
Head over to Google APIs Console and create a project for your sample app. If you have already created a project, you can also select it from the project list.

After you have created/selected a project, you also need to configure the OAuth consent screen. Follow the steps as shown in the image below to choose your app user type and then create the OAuth consent screen.

In the OAuth consent screen information page, fill in the application name, and then click “save”. This application name will be the name being shown in the Google Sign-in form when a user tries to sign in using your app.

Once finished configuring the OAuth consent screen, it is time to create the OAuth client ID. You can follow the steps as shown in the image below to navigate to the OAuth client ID creation page.

Once you reach the OAuth client ID creation page, go ahead and select “iOS” as application type, fill in the name and also your sample app bundle ID and then click “create”.

Copy the OAuth client ID and iOS URL scheme you just create and keep them in somewhere easily reachable, you will need both of them in just a bit.

With that you have completed the OAuth client ID creation process, we can now head back to Xcode and proceed with the configuration.
Google Sign-In SDK Configuration in Xcode
Google Sign-in requires a custom URL Scheme to be added to your project. To add the custom scheme, follow the steps shown in the image below, and fill in the iOS URL scheme that you obtained while creating the OAuth client ID.

Next, open AppDelegate.swift and import the GoogleSignIn module.
import GoogleSignInAfter that, add the following 3 lines of code into application(_:didFinishLaunchingWithOptions:).
// 1
GIDSignIn.sharedInstance().clientID = "[OAuth_Client_ID]"
// 2
GIDSignIn.sharedInstance().delegate = self
// 3
GIDSignIn.sharedInstance()?.restorePreviousSignIn()- Configure
GIDSignInwith the client ID. Make sure to replace[OAuth_Client_ID]with your actual OAuth client ID. - Make
selfas delegate ofGIDSignInso that we will get notified when the sign-in process is completed. We will implement the delegate method in just a bit. - In case the user has signed in before, we will restore the sign-in state during app launches.
Next, add the following AppDelegate method implementation right after application(_:didFinishLaunchingWithOptions:).
func application(_ app: UIApplication,
                 open url: URL,
                 options: [UIApplication.OpenURLOptionsKey : Any]) -> Bool {

    return GIDSignIn.sharedInstance().handle(url)
}
Note:
I found that the above
AppDelegatemethod is not being triggered for the entire login process. However, based on Google’s official documentation, this implementation is required. Therefore, to make sure the sign-in integration is future proof, I would recommend everyone to just include this implementation regardless.
Lastly, let’s conform AppDelegate to GIDSignInDelegate and implement the sign(_:didSignInFor:withError:) method.
The sign(_:didSignInFor:withError:) method that we are going to implement is being triggered every time when the sign-in process is completed. Therefore, we will leverage this delegate method to post a signInGoogleCompleted notification every time a user successfully signed in.
extension AppDelegate: GIDSignInDelegate {

    func sign(_ signIn: GIDSignIn!, didSignInFor user: GIDGoogleUser!, withError error: Error!) {

        // Check for sign in error
        if let error = error {
            if (error as NSError).code == GIDSignInErrorCode.hasNoAuthInKeychain.rawValue {
                print("The user has not signed in before or they have since signed out.")
            } else {
                print("\(error.localizedDescription)")
            }
            return
        }

        // Post notification after user successfully sign in
        NotificationCenter.default.post(name: .signInGoogleCompleted, object: nil)
    }
}

// MARK:- Notification names
extension Notification.Name {

    /// Notification when user successfully sign in using Google
    static var signInGoogleCompleted: Notification.Name {
        return .init(rawValue: #function)
    }
}
Here’s how your AppDelegate.swift should look like after all the implementations.
import UIKit
import GoogleSignIn

@UIApplicationMain
class AppDelegate: UIResponder, UIApplicationDelegate {

    func application(_ application: UIApplication,
                     didFinishLaunchingWithOptions launchOptions: [UIApplication.LaunchOptionsKey: Any]?) -> Bool {

        // Initialize Google sign-in
        GIDSignIn.sharedInstance().clientID = "[OAuth_Client_ID]"
        GIDSignIn.sharedInstance().delegate = self

        // If user already sign in, restore sign-in state.
        GIDSignIn.sharedInstance()?.restorePreviousSignIn()

        return true
    }

    func application(_ app: UIApplication,
                     open url: URL,
                     options: [UIApplication.OpenURLOptionsKey : Any]) -> Bool {

        return GIDSignIn.sharedInstance().handle(url)
    }
}

extension AppDelegate: GIDSignInDelegate {

    func sign(_ signIn: GIDSignIn!,
              didSignInFor user: GIDGoogleUser!,
              withError error: Error!) {

        // Check for sign in error
        if let error = error {
            if (error as NSError).code == GIDSignInErrorCode.hasNoAuthInKeychain.rawValue {
                print("The user has not signed in before or they have since signed out.")
            } else {
                print("\(error.localizedDescription)")
            }
            return
        }

        // Post notification after user successfully sign in
        NotificationCenter.default.post(name: .signInGoogleCompleted, object: nil)
    }
}

// MARK:- Notification names
extension Notification.Name {

    /// Notification when user successfully sign in using Google
    static var signInGoogleCompleted: Notification.Name {
        return .init(rawValue: #function)
    }
}
With that, we have completed the SDK configuration. In the following section, we will start working on the sign-in/sign-out workflow.
Sign-in/Sign-out Workflow Implementation
Let’s start the workflow implementation by adding all the required UI elements into the view controller.
UI Implementation
As a recap, here’s the UI that we will be creating.

For simplicity’s sake, I will add all the UI elements into the view controller programmatically. Feel free to use storyboard if that is your preferred way of creating UI.
For the following sample code, except for all the UI elements related code, there are 2 other things that you should be aware of:
- Do remember to import the
GoogleSignInmodule before the view controller implementation. - At the end of
viewDidLoad()implementation, assignselfas the presenter of the Google sign-in sheet.
// import GoogleSignIn module
import GoogleSignIn

class ViewController: UIViewController {

    var signInButton: UIButton!
    var signOutButton: UIButton!
    var greetingLabel: UILabel!

    override func viewDidLoad() {
        super.viewDidLoad()

        // Add greeting label
        greetingLabel = UILabel()
        greetingLabel.text = "Please sign in... 🙂"
        greetingLabel.textAlignment = .center
        greetingLabel.backgroundColor = .tertiarySystemFill
        view.addSubview(greetingLabel)
        greetingLabel.translatesAutoresizingMaskIntoConstraints = false
        greetingLabel.centerXAnchor.constraint(equalTo: view.centerXAnchor).isActive = true
        greetingLabel.centerYAnchor.constraint(equalTo: view.centerYAnchor, constant: -80).isActive = true
        greetingLabel.heightAnchor.constraint(equalToConstant: 54).isActive = true
        greetingLabel.widthAnchor.constraint(equalToConstant: 300).isActive = true

        // Add sign-in button
        signInButton = UIButton()
        signInButton.layer.cornerRadius = 10.0
        signInButton.setTitle("Sign in with Google", for: .normal)
        signInButton.setTitleColor(.white, for: .normal)
        signInButton.backgroundColor = .systemRed
        signInButton.addTarget(self, action: #selector(signInButtonTapped(_:)), for: .touchUpInside)
        view.addSubview(signInButton)
        signInButton.translatesAutoresizingMaskIntoConstraints = false
        signInButton.centerXAnchor.constraint(equalTo: view.centerXAnchor).isActive = true
        signInButton.centerYAnchor.constraint(equalTo: view.centerYAnchor).isActive = true
        signInButton.heightAnchor.constraint(equalToConstant: 44).isActive = true
        signInButton.widthAnchor.constraint(equalToConstant: 250).isActive = true

        // Add sign-out button
        signOutButton = UIButton()
        signOutButton.layer.cornerRadius = 10.0
        signOutButton.setTitle("Sign Out 👋", for: .normal)
        signOutButton.setTitleColor(.label, for: .normal)
        signOutButton.backgroundColor = .systemFill
        signOutButton.addTarget(self, action: #selector(signOutButtonTapped(_:)), for: .touchUpInside)
        view.addSubview(signOutButton)
        signOutButton.translatesAutoresizingMaskIntoConstraints = false
        signOutButton.centerXAnchor.constraint(equalTo: view.centerXAnchor).isActive = true
        signOutButton.centerYAnchor.constraint(equalTo: view.centerYAnchor, constant: 80).isActive = true
        signOutButton.heightAnchor.constraint(equalToConstant: 44).isActive = true
        signOutButton.widthAnchor.constraint(equalToConstant: 150).isActive = true

        // Sign-out button is hidden by default
        signOutButton.isHidden = true

        // Let GIDSignIn know that this view controller is presenter of the sign-in sheet
        GIDSignIn.sharedInstance()?.presentingViewController = self
    }
}
Pro Tip:
Use system colors and semantic colors during UI implementation to easily adapt to iOS dark mode introduced in iOS 13. Check out this article to learn more.
After adding all the required UI elements, we can continue with the implementation of the sign-in and sign-out button action.
// MARK:- Button action
@objc func signInButtonTapped(_ sender: UIButton) {
    GIDSignIn.sharedInstance()?.signIn()
}

@objc func signOutButtonTapped(_ sender: UIButton) {
    GIDSignIn.sharedInstance()?.signOut()
}
Both of the implementations are quite straightforward, we just need to call the GIDSignIn‘s signIn() and signOut() method accordingly to kick start the sign-in/sign-out workflow.
Handle Sign-in/Sign-out Status Change
The last bit of work that still remains in our sample app is to make sure that the UI will update based on the sign-in/sign-out status change.
Let’s start by implementing an updateScreen() function that changes the UI based on the app current sign-in status.
private func updateScreen() {

    if let user = GIDSignIn.sharedInstance()?.currentUser {
        // User signed in

        // Show greeting message
        greetingLabel.text = "Hello \(user.profile.givenName!)! ✌️"

        // Hide sign in button
        signInButton.isHidden = true

        // Show sign out button
        signOutButton.isHidden = false

    } else {
        // User signed out

        // Show sign in message
         greetingLabel.text = "Please sign in... 🙂"

         // Show sign in button
         signInButton.isHidden = false

         // Hide sign out button
         signOutButton.isHidden = true
    }
}
Note that we are using the availability of GIDSignIn‘s currentUser to determine whether the user is signed in or signed out. If the user is not signed in, currentUser will be nil.
Pro Tip:
The
GIDSignIn‘scurrentUseris an instance of GIDGoogleUser. You can use it to get all the user information such as user ID, user’s full name, email, and authentication token.
With the updateScreen() function in place, we can now use it to update the UI after a user successfully signed in.
We will utilize the signInGoogleCompleted notification to update the UI. Thus, go ahead and add the view controller as an observer of the notification and implement the notification’s selector accordingly.
override func viewDidLoad() {

    // ...
    // ...
    // ...

    // Register notification to update screen after user successfully signed in
    NotificationCenter.default.addObserver(self,
                                           selector: #selector(userDidSignInGoogle(_:)),
                                           name: .signInGoogleCompleted,
                                           object: nil)
}

// MARK:- Notification
@objc private func userDidSignInGoogle(_ notification: Notification) {
    // Update screen after user successfully signed in
    updateScreen()
}
To handle UI change after a user successfully signs out, you can call updateScreen() at the sign-out button action.
@objc func signOutButtonTapped(_ sender: UIButton) {
    GIDSignIn.sharedInstance()?.signOut()

    // Update screen after user successfully signed out
    updateScreen()
}
Lastly, call the updateScreen() function at viewDidLoad() so that the signed-in UI will be shown after the app launches if the user has previously signed in.
override func viewDidLoad() {

    // ...
    // ...
    // ...

    // Update screen base on sign-in/sign-out status (when screen is shown)
    updateScreen()
}
Here’s the view controller full implementation.
import UIKit
import GoogleSignIn

class ViewController: UIViewController {

    var signInButton: UIButton!
    var signOutButton: UIButton!
    var greetingLabel: UILabel!

    override func viewDidLoad() {
        super.viewDidLoad()

        // Add greeting label
        greetingLabel = UILabel()
        greetingLabel.text = "Please sign in... 🙂"
        greetingLabel.textAlignment = .center
        greetingLabel.backgroundColor = .tertiarySystemFill
        view.addSubview(greetingLabel)
        greetingLabel.translatesAutoresizingMaskIntoConstraints = false
        greetingLabel.centerXAnchor.constraint(equalTo: view.centerXAnchor).isActive = true
        greetingLabel.centerYAnchor.constraint(equalTo: view.centerYAnchor, constant: -80).isActive = true
        greetingLabel.heightAnchor.constraint(equalToConstant: 54).isActive = true
        greetingLabel.widthAnchor.constraint(equalToConstant: 300).isActive = true

        // Add sign in button
        signInButton = UIButton()
        signInButton.layer.cornerRadius = 10.0
        signInButton.setTitle("Sign in with Google", for: .normal)
        signInButton.setTitleColor(.white, for: .normal)
        signInButton.backgroundColor = .systemRed
        signInButton.addTarget(self, action: #selector(signInButtonTapped(_:)), for: .touchUpInside)
        view.addSubview(signInButton)
        signInButton.translatesAutoresizingMaskIntoConstraints = false
        signInButton.centerXAnchor.constraint(equalTo: view.centerXAnchor).isActive = true
        signInButton.centerYAnchor.constraint(equalTo: view.centerYAnchor).isActive = true
        signInButton.heightAnchor.constraint(equalToConstant: 44).isActive = true
        signInButton.widthAnchor.constraint(equalToConstant: 250).isActive = true

        // Add sign out button
        signOutButton = UIButton()
        signOutButton.layer.cornerRadius = 10.0
        signOutButton.setTitle("Sign Out 👋", for: .normal)
        signOutButton.setTitleColor(.label, for: .normal)
        signOutButton.backgroundColor = .systemFill
        signOutButton.addTarget(self, action: #selector(signOutButtonTapped(_:)), for: .touchUpInside)
        view.addSubview(signOutButton)
        signOutButton.translatesAutoresizingMaskIntoConstraints = false
        signOutButton.centerXAnchor.constraint(equalTo: view.centerXAnchor).isActive = true
        signOutButton.centerYAnchor.constraint(equalTo: view.centerYAnchor, constant: 80).isActive = true
        signOutButton.heightAnchor.constraint(equalToConstant: 44).isActive = true
        signOutButton.widthAnchor.constraint(equalToConstant: 150).isActive = true

        // Sign out button is hidden by default
        signOutButton.isHidden = true

        // Let GIDSignIn know that this view controller is presenter of the sign-in sheet
        GIDSignIn.sharedInstance()?.presentingViewController = self

        // Register notification to update screen after user successfully signed in
        NotificationCenter.default.addObserver(self,
                                               selector: #selector(userDidSignInGoogle(_:)),
                                               name: .signInGoogleCompleted,
                                               object: nil)

        // Update screen base on sign-in/sign-out status (when screen is shown)
        updateScreen()
    }

    private func updateScreen() {

        if let user = GIDSignIn.sharedInstance()?.currentUser {
            // User signed in

            // Show greeting message
            greetingLabel.text = "Hello \(user.profile.givenName!)! ✌️"

            // Hide sign in button
            signInButton.isHidden = true

            // Show sign out button
            signOutButton.isHidden = false

        } else {
            // User signed out

            // Show sign in message
             greetingLabel.text = "Please sign in... 🙂"

             // Show sign in button
             signInButton.isHidden = false

             // Hide sign out button
             signOutButton.isHidden = true
        }
    }

    // MARK:- Button action
    @objc func signInButtonTapped(_ sender: UIButton) {
        GIDSignIn.sharedInstance()?.signIn()
    }

    @objc func signOutButtonTapped(_ sender: UIButton) {
        GIDSignIn.sharedInstance()?.signOut()

        // Update screen after user successfully signed out
        updateScreen()
    }

    // MARK:- Notification
    @objc private func userDidSignInGoogle(_ notification: Notification) {
        // Update screen after user successfully signed in
        updateScreen()
    }
}
With that, we have successfully integrated Google Sign-in into our sample app. 🥳
Build and run the sample app to see everything in action.
What’s Next?
If you would like to extend the Google Sign-in functionality by integrating it with Firebase Authentication, check out the following article which is the continuation of this article.
🔗 Integrate Google Sign-In with Firebase Authentication
Wrapping Up
I hope this article can give you a clear idea on how to integrate Google Sign-in into your iOS app.
I will be covering some other topics related to Google Sign-in integration in the near future. If you would like to get notified when a new article comes out, you can follow me on Twitter and subscribe to my monthly newsletter.
Thanks for reading and happy coding! 👨🏼💻
Further Readings
- Step-by-Step: Facebook Login Integration in Swift
- Creating Custom Facebook Login Button in Swift
- Integrate ‘Sign in with Apple’ with Firebase Authentication
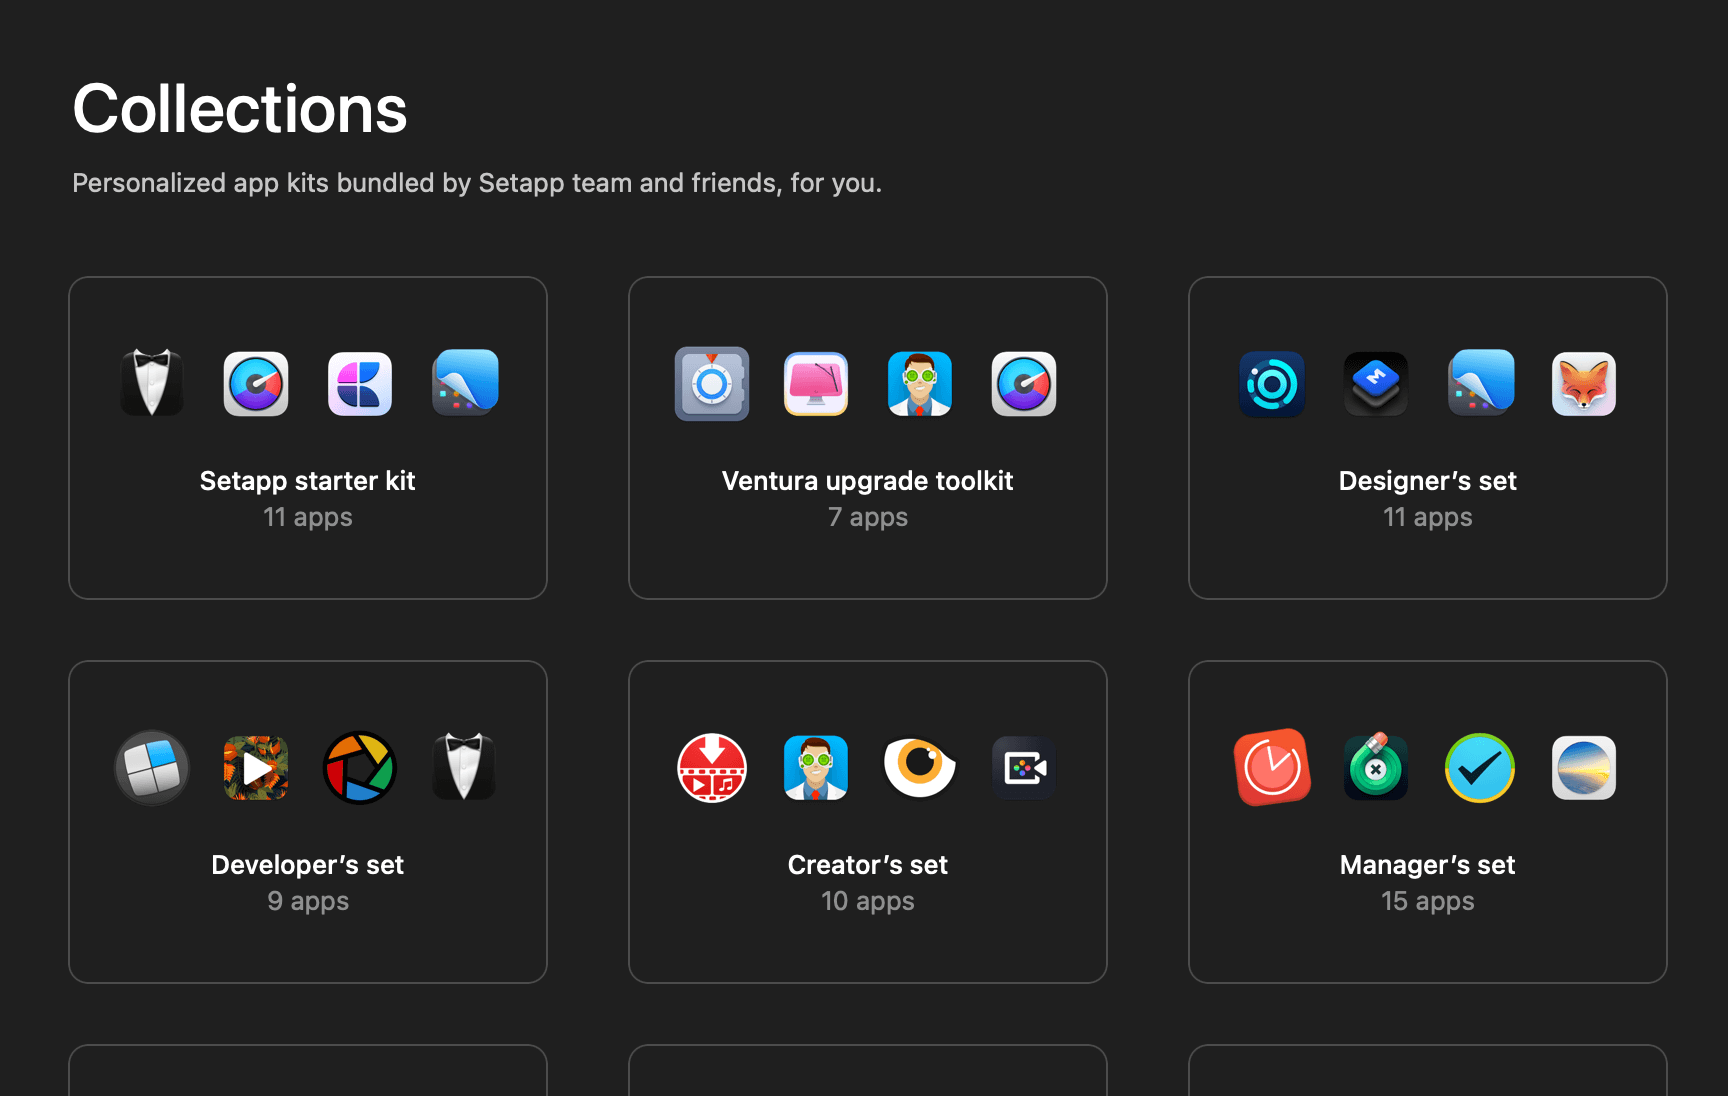
👋🏻 Hey!
While you’re still here, why not check out some of my favorite Mac tools on Setapp? They will definitely help improve your day-to-day productivity. Additionally, doing so will also help support my work.
- ✨ Bartender: Superpower your menu bar and take full control over your menu bar items.
- ✨ CleanShot X: The best screen capture app I’ve ever used.
- ✨ PixelSnap: Measure on-screen elements with ease and precision.
- ✨ iStat Menus: Track CPU, GPU, sensors, and more, all in one convenient tool.


