
✅ Updated for Lottie 4.2.0
Imagine you downloaded a piece of Lottie animation, you really like the animation and you want to use it in your iOS app. Unfortunately, the colors of the animation do not match your app’s theme. What should you do?
What if you have a black color Lottie animation that does not look good in dark mode, you want to dynamically change the animation appearance based on the app’s user interface style. Is that even possible?
Fear not! Lottie animation is rendered natively at run time, therefore, modifying the animation programmatically is definitely possible.
Introducing Value Providers — Classes that developers can utilize to easily modify the animation properties at run time.
Lottie has a total of 5 prebuilt value providers:
ColorValueProviderFloatValueProviderSizeValueProviderPointValueProviderGradientValueProvider
Before we dive deep into these value providers, if you are not familiar with Lottie, make sure to check out my previous Lottie-related articles:
- Getting Started with Lottie Animations in iOS
- Lottie Advance Animation Playback
- Controlling Lottie Animation with Markers
With all that being said, let’s begin.

The Concept
All the elements within a Lottie animation are represented by nodes, in order to access a node, we must know the key path of the node. Following are a few key path examples:
// Represents a specific color node on a specific stroke.
"Layer.Shape Group.Stroke 1.Color"

// Represents the color node for every Stroke in a specific layer and shape group.
"Layer.Shape Group.Stroke *.Color"

// Represents the color node for every Stroke named "Stroke 1" in the animation.
"**.Stroke 1.Color"
Note:
Lottie animation’s key path accepts single-asterisk (*) and double-asterisk (**) wildcard match. The single-asterisk will search a single depth for the next node, meanwhile, the double-asterisk will search any depth.
Up until this point, you might wonder how you can get all the key paths of an animation. Luckily Lottie does provide an API that we can use to list out all key paths of an animation in the Xcode console.
LottieAnimationView.logHierarchyKeypaths()
With all the animation’s key paths being listed out, we are now ready to modify the Lottie animations using value providers.
The Color, Float, and Size Value Provider
In this section, I will be using the TwitterHeart animation as an example.

I will show you how to change the heart’s background color, scale up the explosion effect, and reduce all the dots’ opacity by using different types of value providers. Here’s what we trying to achieve:

Changing Color with ColorValueProvider
In order to change the heart’s background color, we must first find out the key paths that represent the heart’s color node.
By performing a search on the key path list using the word “Color”, you should be able to identify all the layers with a color node. Since all the key path’s names are self-explanatory, figuring out which key path is representing the heart’s color node is pretty straightforward.
After going through all the color nodes, the following are the 2 key paths that represent the heart’s color node where H1 and H2 are representing the heart’s layer before and after the explosion effect, respectively.
H1.Shape 1.Fill 1.Color
H2.Shape 1.Fill 1.Color
After identifying the correct color node, let’s write some code to change the heart to orange color.
// Create ColorValueProvider using Lottie's Color class
let orange = LottieColor(r: (251/255), g: (140/255), b: (0/255), a: 1)
let orangeColorValueProvider = ColorValueProvider(orange)

// Set color value provider to animation view
let keyPath = AnimationKeypath(keypath: "**.Shape 1.Fill 1.Color")
animationView.setValueProvider(orangeColorValueProvider, keypath: keyPath)
Note how we are using the double-asterisk (**) wildcard match to represent both H1 and H2.
Scaling Up with SizeValueProvider
Next up, let’s scale up the explosion effect. There are 2 major components that are involved in the explosion effect — the dots and the ellipse.

You can do a “Scale” keyword search on the key path list to find out all the scalable node’s key paths. For convenience’s sake, I have identified all the related key paths.
C1.Ellipse 1.Scale
C2.Ellipse 1.Scale

Dot1.Shape 1.Scale
Dot2.Shape 1.Scale
...
...
Dot14.Shape 1.Scale
Pro Tip:
If you find it hard to identify the correct key path, try changing the color of a layer to help you visualize the relationship between each key path and its layer.
Once again, we can use the wildcard match to represent the key paths, but this time we will use the single-asterisk (*) wildcard match.
With that, we are ready to scale up the explosion effect using the SizeValueProvider.
// Scale up dots & ellipse
let scaleValueProvider = SizeValueProvider(CGSize(width: 200, height: 200))

let dotKeyPath = AnimationKeypath(keypath: "Dot*.Shape 1.Scale")
animationView.setValueProvider(scaleValueProvider, keypath: dotKeyPath)

let ellipseKeyPath = AnimationKeypath(keypath: "C*.Ellipse 1.Scale")
animationView.setValueProvider(scaleValueProvider, keypath: ellipseKeyPath)
Adjusting Opacity with FloatValueProvider
Lastly, let’s change the opacity of all the dots by using the FloatValueProvider.
Changing the opacity of all the dots is just like changing the scale of all the dots, hence we can modify the key paths that we obtained in the previous section and point it to the dots’ opacity node.
Dot*.Shape 1.Opacity
The code to change the opacity using FloatValueProvider is fairly straightforward:
// Change dots opacity (range 0 ~ 100)
let opacityValueProvider = FloatValueProvider(CGFloat(50))
let dotOpacityKeyPath = AnimationKeypath(keypath: "Dot*.Shape 1.Opacity")
animationView.setValueProvider(opacityValueProvider, keypath: dotOpacityKeyPath)
Do take note that the opacity value ranges from 0 to 100. This means that for our example, we are changing all the dots’ opacity to 50%.
With that, we have completed the TwitterHeart animation modification. Let’s take a look at the final product.
The Point and Gradient Value Provider
To showcase the PointValueProvider and GradientValueProvider, we will need an animation that contains gradient nodes. Due to that, I will use the voice-video-switch animation downloaded from lottiefiles.com.

For demonstration purposes, let’s change the gradient colors to be more blueish and also slightly move up the centre circle to make it look more like a camera.

Changing Gradient with GradientValueProvider
As usual, we will start with identifying the key paths that we should use. For gradient nodes, they are marked with the “Colors” keyword.
If you do a search on the key path list, you should find 4 key paths marked with “Colors”.
Touch.Rectangle 1.Gradient Stroke 1.Colors
Left.Rectangle 1.Gradient Stroke 1.Colors
Right.Rectangle 1.Gradient Stroke 1.Colors
Centre.Rectangle 1.Gradient Stroke 1.Colors
Since we want to make the entire animation more blueish, changing the gradient value of all these nodes should be the way to go.
// Create gradient colors
let color1 = LottieColor(r: (0/255), g: (80/255), b: (115/255), a: 1)
let color2 = LottieColor(r: (113/255), g: (199/255), b: (236/255), a: 1)
let gradientValueProvider = GradientValueProvider([color1, color2])

// Set gradient provider
let gradientKeyPath = AnimationKeypath(keypath: "**.**.**.Colors")
animationView.setValueProvider(gradientValueProvider, keypath: gradientKeyPath)
Note:
You can initialize a
GradientValueProviderwith more than 2 colors.
Lastly, make sure to change the foot rectangle color as well to match the new blueish color.

// Set color of foot rectangle
let colorValueProvider = ColorValueProvider(color1)
let footKeyPath = AnimationKeypath(keypath: "Foot.Rectangle 1.Stroke 1.Color")
animationView.setValueProvider(colorValueProvider, keypath: footKeyPath)
Repositioning with PointValueProvider
Repositioning the centre circle is a little bit tricky because we have no idea what is the centre circle’s current position. However, we can set the centre circle back to (0, 0) position and work our way from there.
let pointValueDeveloper = PointValueProvider(CGPoint(x: 0, y: 0))
let centrePositionKeyPath = AnimationKeypath(keypath: "Centre.Rectangle 1.Position")
animationView.setValueProvider(pointValueDeveloper, keypath: centrePositionKeyPath)
As can be seen from the above image, by moving the centre circle back to (0, 0) position and assuming (0, 0) is at the centre of the circle, we can iterate through various x and y values to find the position that we want.
After a few trials and errors, I found that repositioning the centre circle to (-18, 80) perfectly fits our needs.
let pointValueDeveloper = PointValueProvider(CGPoint(x: -18, y: 80))Now, if you try to run the sample code, you will get the following error:
Assertion failed: The Core Animation rendering engine doesn't support Value Providers that vend a closure, because that would require calling the closure on the main thread once per frame.
This specific error is caused by this issue mentioned on GitHub. To workaround this issue, head over to AppDelegate.swift and set Lottie’s rendering engine to mainThread.
import Lottie

func application(_ application: UIApplication, didFinishLaunchingWithOptions launchOptions: [UIApplication.LaunchOptionsKey: Any]?) -> Bool {

    // Configure Lottie's rendering engine
    LottieConfiguration.shared.renderingEngine = .mainThread
    return true
}
That’s it! We have successfully transformed the voice-video-switch animation to what we want.
Further Readings
If you would like to modify the texts in a Lottie animation, you might want to check out the following article:
🔗 Changing Text in iOS Lottie Animation
Wrapping Up
The examples shown in this article only cover a small portion of what you can modify using the value providers. Properties such as rotation, size, stroke width, etc., are also available for modification.
Feel free to get the sample project from Github and start experimenting with it yourself.
Last but not least, make sure to check out Lottie Editor where you can use it to make minor adjustments on a Lottie animation and export it as Lottie JSON format.
I will be covering some other iOS development topics including topics related to Lottie animation in my future articles. If you would like to get notified when a new article comes out, you can follow me on Twitter and subscribe to my monthly newsletter.
Thanks for reading. 🧑🏻💻
👋🏻 Hey!
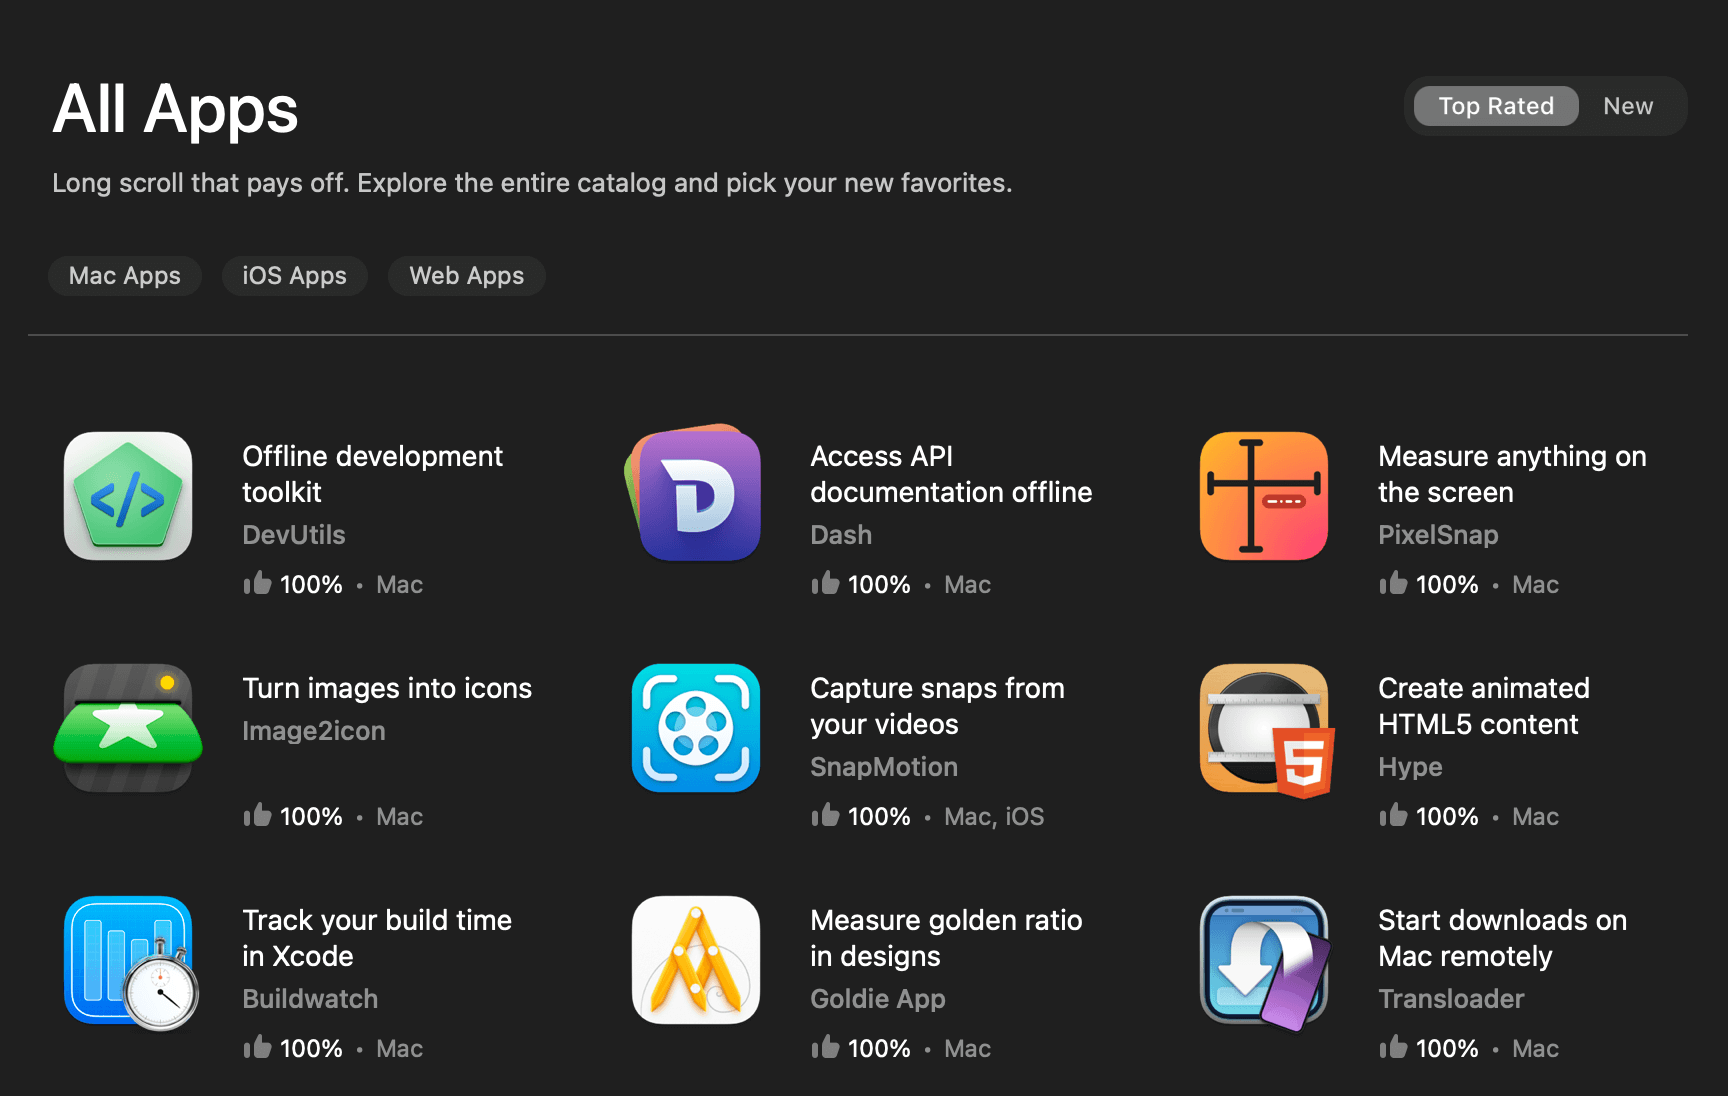
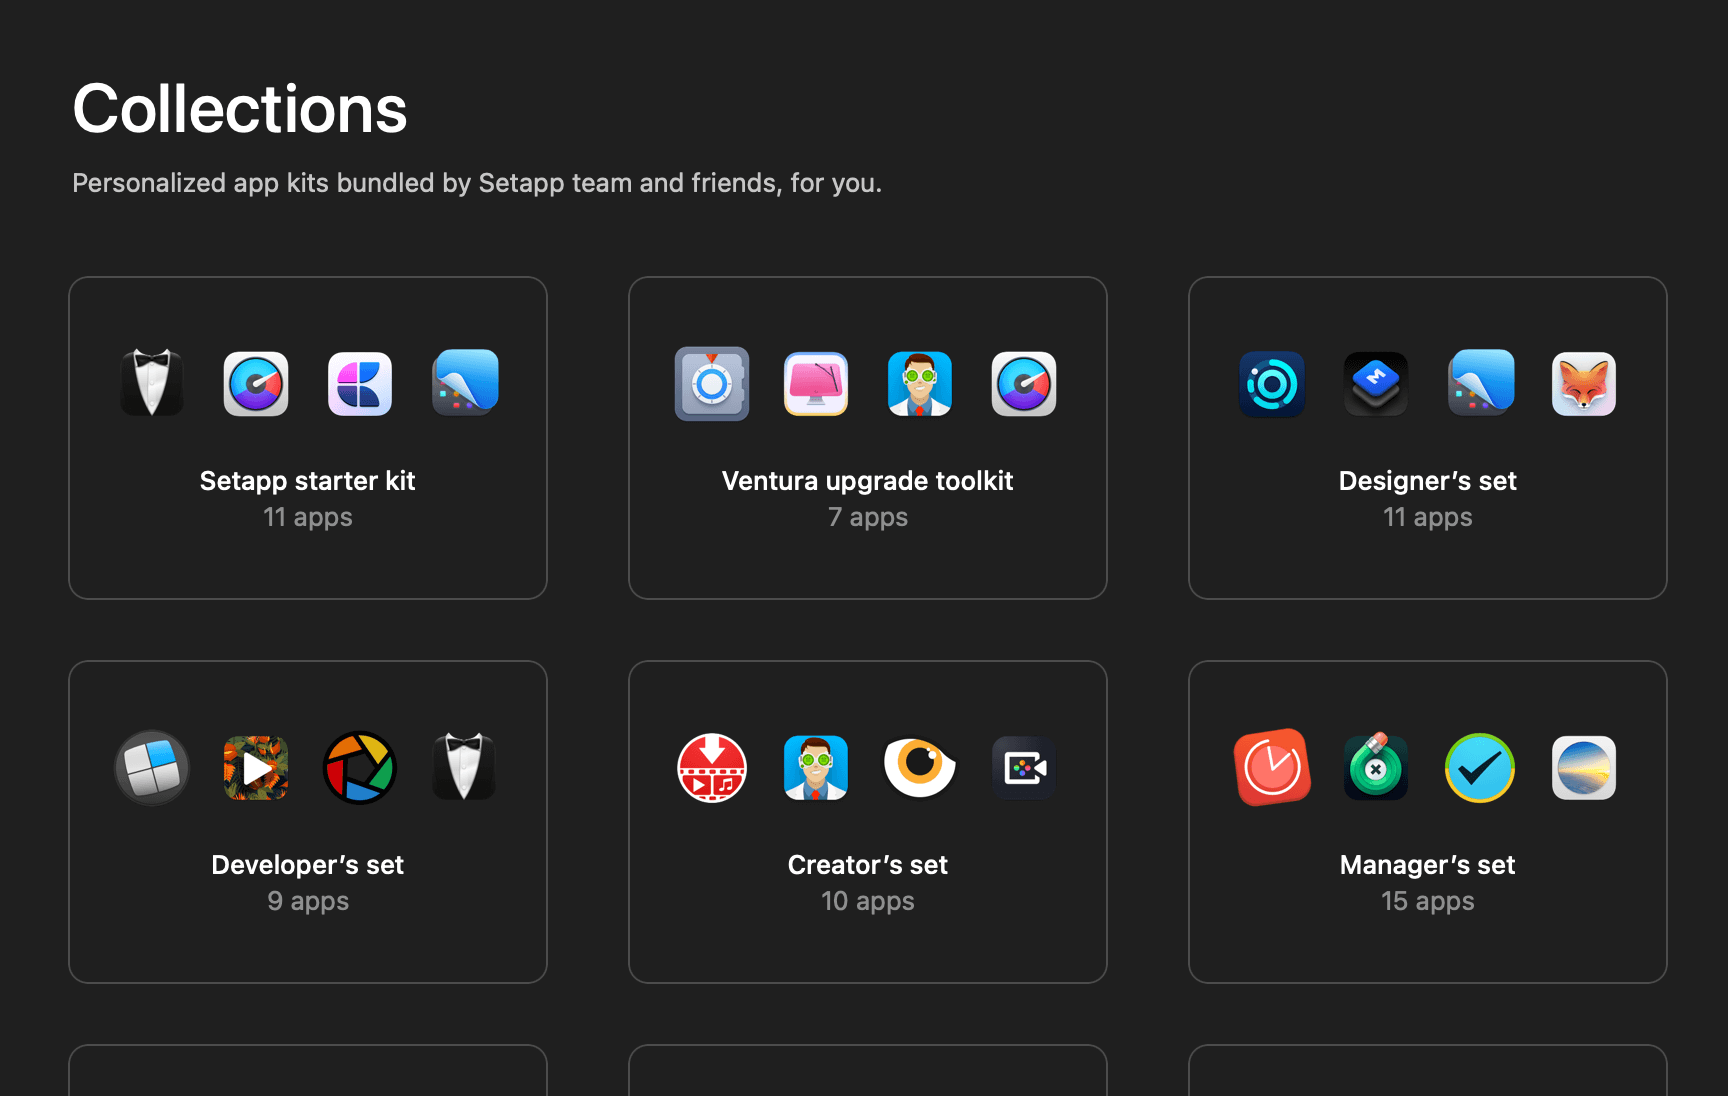
While you’re still here, why not check out some of my favorite Mac tools on Setapp? They will definitely help improve your day-to-day productivity. Additionally, doing so will also help support my work.
- ✨ Bartender: Superpower your menu bar and take full control over your menu bar items.
- ✨ CleanShot X: The best screen capture app I’ve ever used.
- ✨ PixelSnap: Measure on-screen elements with ease and precision.
- ✨ iStat Menus: Track CPU, GPU, sensors, and more, all in one convenient tool.


